Introduction
Board and batten paneling is the most beginner-friendly technique if you are already familiar with the complexity of paneling techniques. It was developed in the early settlements of the USA. Although it has traditional roots, it has become more of a normal appearance these days.
They were built to be used on the exterior of sawmills. However, there are now a variety of interior design applications and even modified versions for exterior design (ceilings, roofs, walls, etc.)
This blog will explain the basics of designing this type of siding on the walls of your home. Starting with the anatomy of board and batten wall, we’ll delve into the DIY steps for creating this aesthetic pattern for our homes.
What Is Board and Batten?
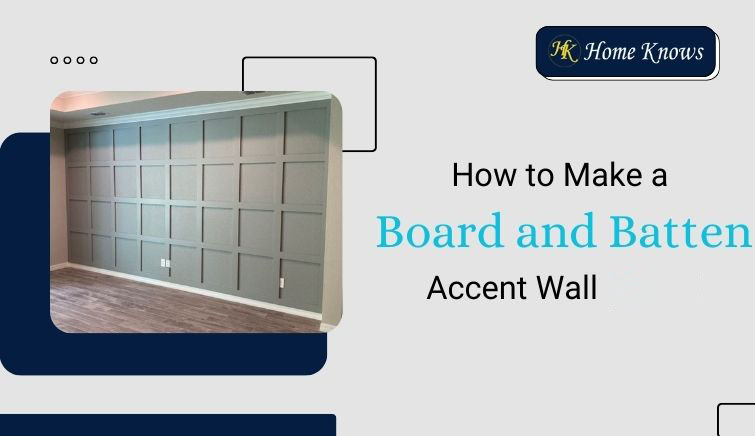
Board and batten is a siding and paneling wall style that creates a visual interest in an otherwise blank wall. The ‘board’ refers to the seams of panel boards upon which the thin strips of ‘battens’ (or, wood moulding) are placed.
Another popular name for this style is ‘barn siding.’ It has had traditional footprints since the early U.S. settlements. Barns and sheds were used to prepare outbuildings. The layer of batten strips over board panels also helped keep the farm animals warm during harsh winters.
Nowadays, you can see this traditional siding style in country-side homes, farmhouses, and other country-side churches. On the contrary, modern homes incorporate this style in the form of interior paneling.
However, this style shouldn’t be confused with other paneling or siding systems, including wainscoting, shiplap, etc.
There are many ways you can use this siding, including your home exteriors, shutters, ceiling, interior siding, kitchen interiors, foyer, dining room, library, home office, etc.
Tools & Materials
- Construction adhesive
- Paintable caulk
- Paint roller & tray
- Paint
- Primer
- 8ft or 12ft 6 MDF boards (can use wood boards instead)
- Level
- Miter saw
- Brad nailer
- Utility knife
- Jigsaw, dremel, or wood chisel (optional)
- Stud finder
- Measuring tape
- Hammer and prybar
- Nail gun
Preparation
In the preparation phase, you can determine the number of boards and their size. We went with ¼” MDF boards to create ours. We will use a total of 14 – 2’x4′ MDF sheets at $5.97 approx. So the entire room will cost about $84.
You can also use 1/2″ MDF boards if you want the siding to be deeper and more defined. You may need to call around to local home improvement stores as 1/4″ MDF panels are harder to find. Remove any furniture, decorations or obstructions from the wall area. This will give you enough room to work and avoid damage to your items.
Measure the Walls
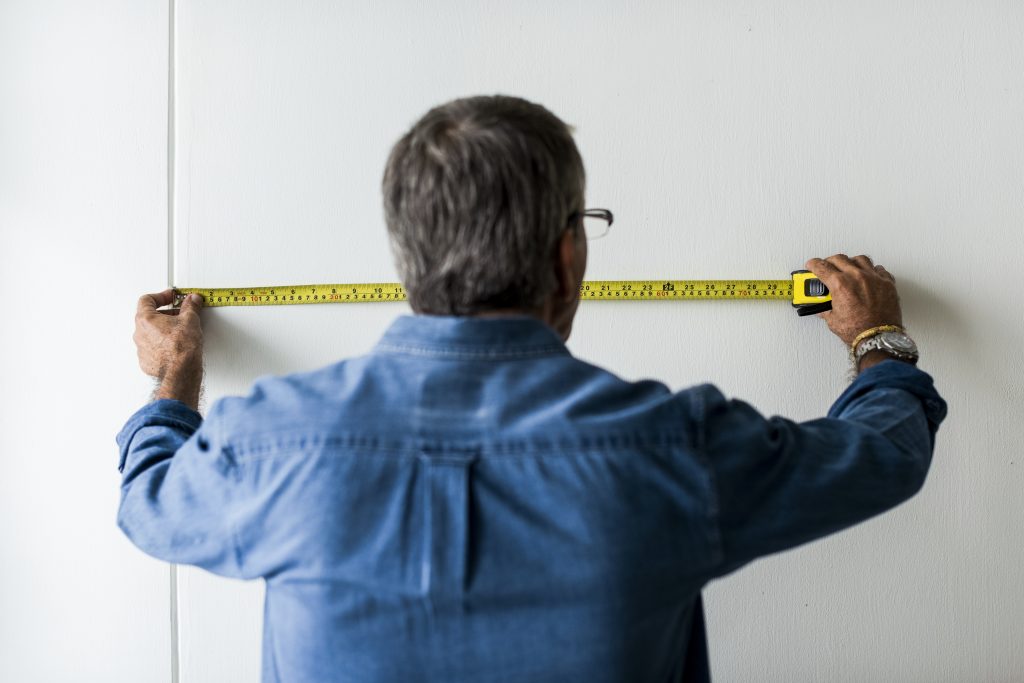
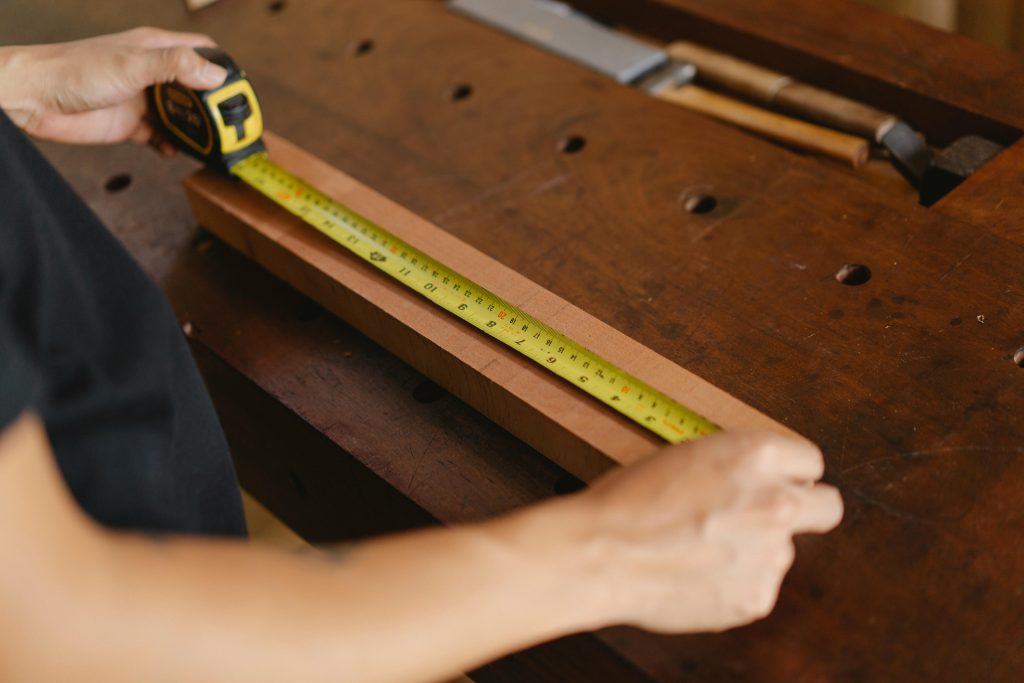
You might be wondering how to calculate the board and batten wall. so first you measure the height and width of the wall to which you want to attach the boards and battens. Use a tape measure to measure accurately. Make a note of these measurements as they will be used for cutting the boards and spacing the battens.
Choose Your Design
Decide on a design and determine your batten board’s spacing, width, and overall pattern. Sketch your board and batten wall ideas on paper or use design software to visualize how it will look. It also helps in accurate planning of the material and layout.
Gather Supplies
Make sure you have all the necessary tools and materials mentioned above on hand before starting the project.
Step-by-Step Guide to Building a Board & Batten Board
Remove Existing Baseboards From The Wall
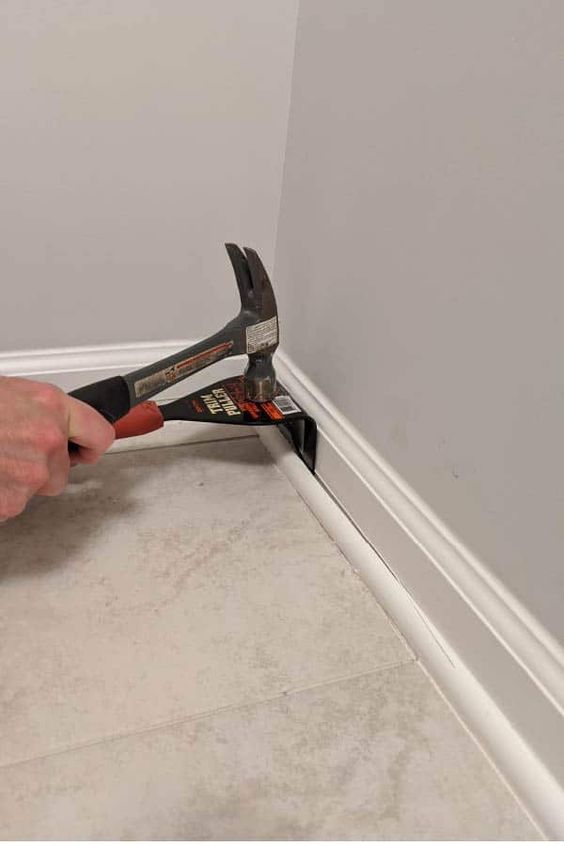
Source: Pinterest
Take a carpet knife and score the corners and top sealing lines of the existing skirting board. Then remove it from the wall with a hammer and chisel.
If you have thinner baseboards than the molding, you can trim the battens at the bottom with a mitered angle (do this if you don’t want to remove the original baseboard!)
However, replacing your original baseboards is always a better option to create a nice visual impact. Also, make sure you fit the skirting boards at the ideal height to achieve a seamless look.
If you have baseboards in your house and they are very dirty, then information is given here about How To Clean Baseboards.
Paint Your Wall First
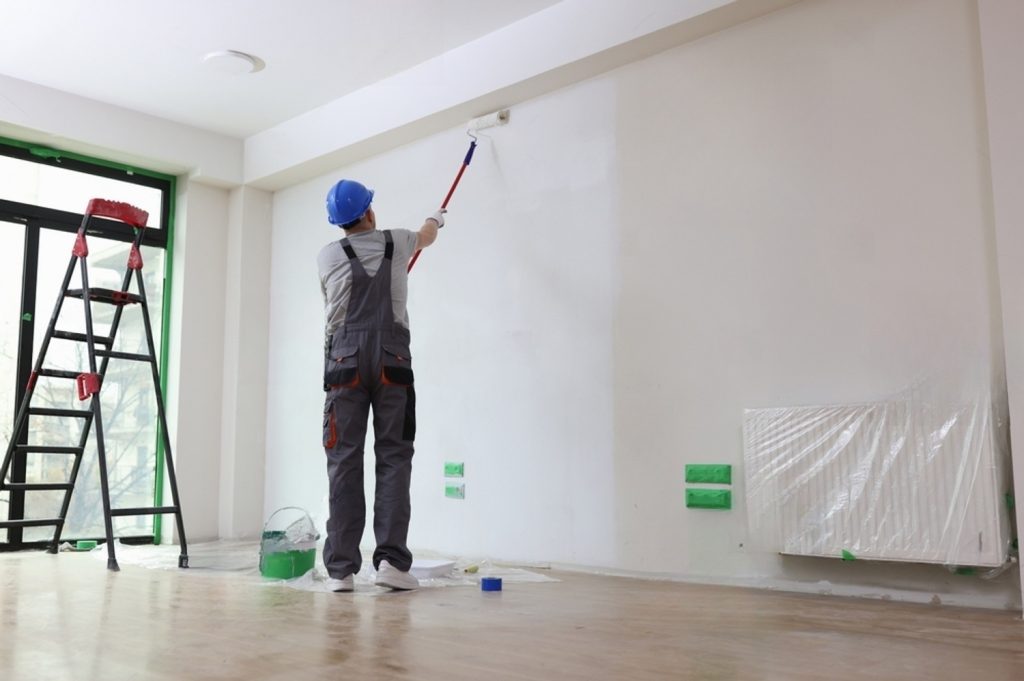
Add some texture and paint to your walls first! It is also easier to paint now with your chosen color than after you will install the boards. Choose a high-quality paint and apply at least two coats for good coverage.
Mark Your Layout
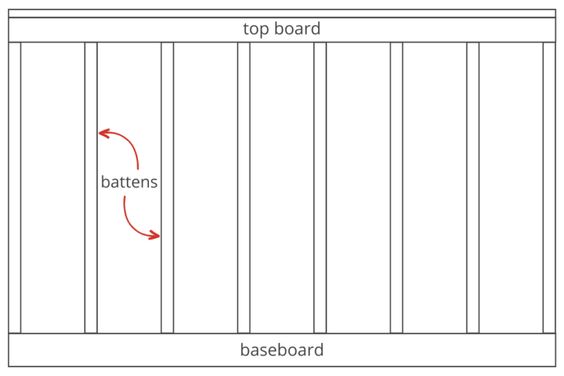
Source: Pinterest
Use a spirit level and a pencil to mark where each batten board should go. This step ensures that you place the boards straight and evenly spaced. Start by marking the positions for the horizontal boards at the top and bottom of the wall.
Then, move ahead with marking locations for vertical boards. You need to space them evenly across the wall. Use a spirit level to check your measurements.
Measure And Cut the Horizontal Boards
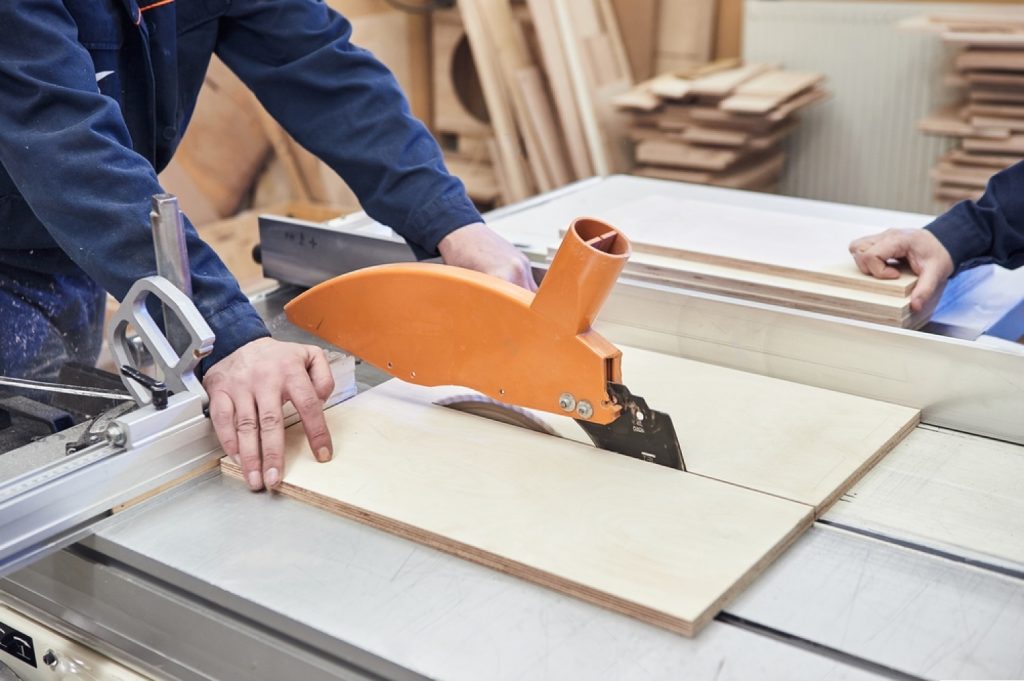
Measure the width of your wall to determine the length of the horizontal boards. Cut your 6 MDF (or wooden) boards to the correct size with a miter saw. Cut all the boards into the right shape at once. You will need to cut multiple boards if your wall is longer than a single board. This step will allow you to work efficiently and maintain the consistency of your boards and battens.
Measure and Cut the Trim Boards
Now, measure the wall’s height to determine the length of the trim boards. These boards will frame the top, bottom, and vertical sections of your wall. Again, cut the trim boards to the correct using a miter saw.
Ensure they fit snugly! If your wall has any windows, doors, or other obstacles, measure and cut the boards accordingly to fit around them.
Glue the Horizontal Boards
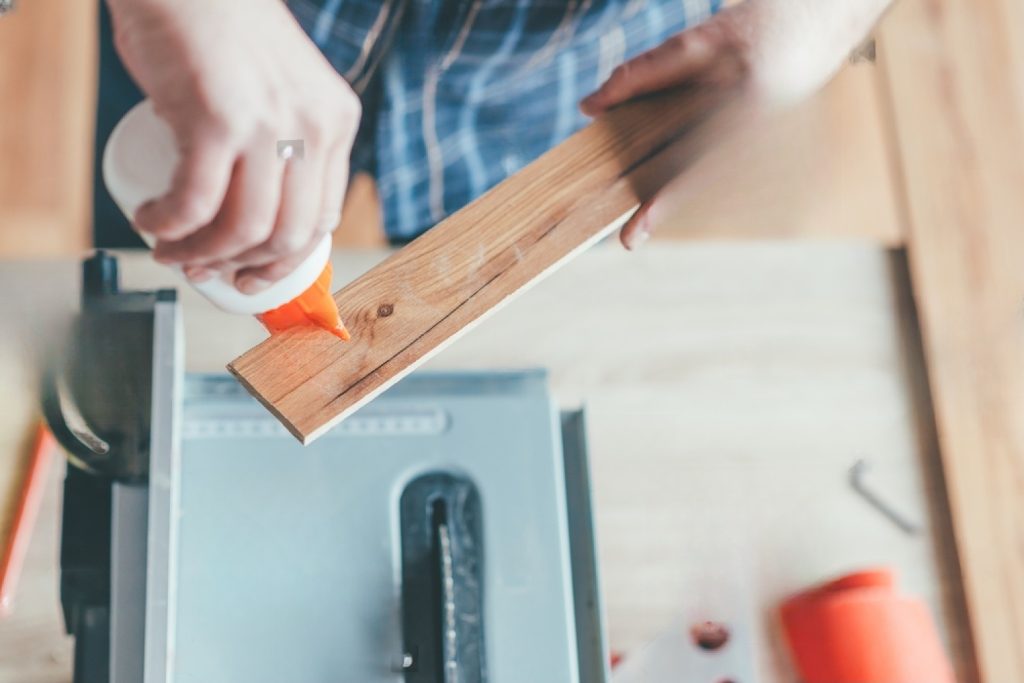
Now glue your horizontal boards with construction adhesives. This will help hold the boards in place while you secure them with nails. Press the boards firmly against the wall from top to bottom.
Attach the Boards
Source: Pinterest
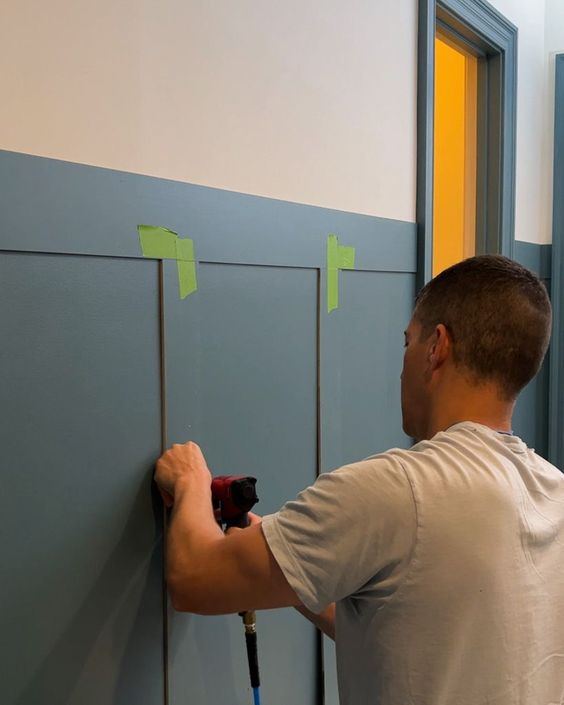
Once you have applied the adhesive, you need to attach the boards to the wall using the nail gun. Start by nailing the horizontal boards and then continue with the vertical boards.
Use the stud finder to locate the studs and nail the boards into these studs for added stability. Make sure each board is straight before nailing it in place. This will make your wall of boards and battens look stable and professional.
Fill Gaps and Sand
Source: Pinterest
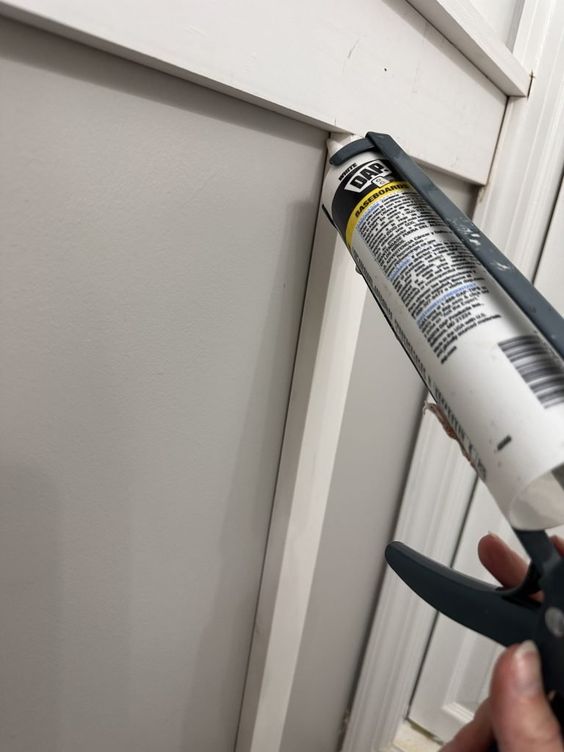
There may now be some gaps between the boards and the wall. You can fill these with paintable sealant. Use a caulking gun for precise application and a spatula to smooth the sealant. Then fill all nail holes with wood filler.
Sand the entire surface as soon as the grout and filler have dried. You can use a sanding block or sandpaper for this. Your boards and walls are ready to be painted or stained.
Paint or Stain
Source: Pinterest
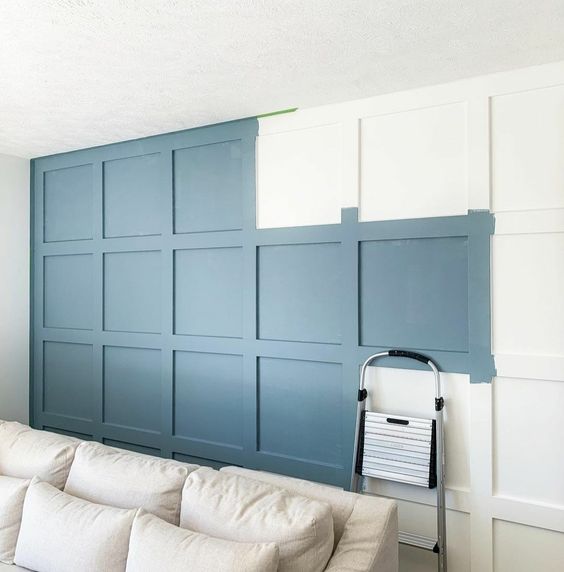
The final step is to stain or paint the boards to match your decor. Apply a primer if you haven’t already done so. Then apply at least two coats of paint or stain using a paint roller and tray.
Allow each coat to dry thoroughly before applying the next! This will also add texture and enhance the look of your room. Once the paint or stain has dried, you can reattach the skirting boards. Enjoy a stylish wall now!
Conclusion
Hopefully, you’ve almost finished admiring the beloved appearance of your board and batten accent wall. You can apply the same DIY steps to craft a unique and timeless pattern for other arenas in your design projects (interior or exterior).
As we have defined the steps at a basic level, you can always modify and create a customized version to suit your decor. Also, you may need to confirm its suitability to your architecture type.
For instance, urban, industrial, Spanish style, contemporary, or mid-century architecture might not fit well or needs high-tech customization to fit well.
FAQs
What type of wood is board and batten made with?
We have used MDF boards which are residuals of hardwood or softwood. Yet pine, cedar, redwood, and oak are some of the ideal wood choices to make.
Can I install the board and batten over the wallpaper?
Yes, you can also apply it over wallpaper instead of just over a painted or stained wall.
Is board and batten suitable for all wall types?
Yes, it suits each wall type. You can either apply it on exterior or interior walls. Yet, you have to ensure the length of the walls is adequate to let the patterns look visually appealing.
How do I maintain my board and batten wall?
All the preparation and maintenance needs to be done beforehand for the application of the batten board. Yet, you can practice aftercare in various ways.
You can keep the shrubs, trees, and other vegetation away from walls to prevent moisture, and inspect for termites as a pest control practice for wood.

